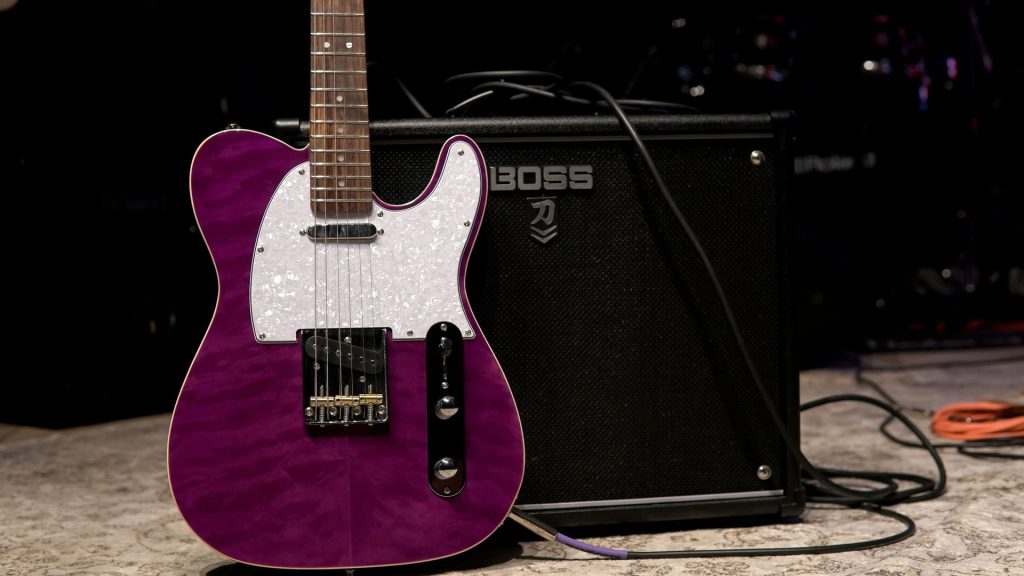
A gig checklist is one of the simplest tools a musician can use, and one of the most effective. Most things that go wrong at shows are not musical problems. They are forgotten cables, dead batteries, missing setlists, confusion about load-in times or merch left at home. A checklist moves all of those details out of your memory and onto paper, so on show day you can focus on playing well. This guide gives you a complete gig checklist covering the weeks before a show, the gear to pack, show-day timing, merch, promotion and the follow-up afterwards. Copy it, adapt it to your instrument and lineup, and reuse it for every gig.
Why Every Musician Needs a Gig Checklist
Even experienced performers forget things when they are busy, tired or nervous. A checklist helps in several ways.
- It prevents avoidable problems. Spare strings and a backup cable take up almost no space and can save a set.
- It reduces stress. When you trust your list, you stop worrying about what you might have missed.
- It makes you look professional. Venues and promoters remember artists who arrive prepared and on time.
- It saves time. Packing from a list is faster than figuring it out every time.
- It helps bands coordinate. A shared list makes it clear who is bringing what.
Gig Checklist: Two to Four Weeks Before the Show
Preparation starts well before the day itself.
Confirm the Details
- Date, venue address and parking or loading access.
- Load-in time, soundcheck time, doors time and set time.
- Set length and running order of acts.
- Contact person at the venue and their phone number.
- What the venue provides: PA, monitors, microphones, DI boxes, backline, stands.
- Payment arrangements, if any, and how and when you will be paid.
- Guest list allocation and how to submit names.
- Merch rules, including table space and any venue arrangements.
Get these in writing, even if it is just a message thread. Our guide on how to book gigs as a musician covers how to agree these details when you first secure a show.
Send Your Technical Information
- Send your technical rider and stage plot to the venue or sound engineer.
- Confirm your lineup and the number of inputs you need.
- Mention any special requirements, such as extra power outlets or in-ear monitors.
Plan Promotion
- Announce the show on your channels with the date, venue and ticket link.
- Create a poster or graphic in the right sizes for each platform.
- Schedule reminders for one week before, the day before and the day itself.
- Coordinate with other acts on the bill to share each other’s posts.
Our music marketing plan template and the list of content ideas for musicians can help you plan show promotion alongside your other content.
Prepare the Set
- Write the setlist and agree it with your band.
- Rehearse the full set at least once in order, including transitions.
- Decide what you will say between songs.
- Prepare backing tracks or click tracks if you use them, and test them.
Gig Checklist: The Week Before
Rehearse
- Run the full set standing up, as you will play it on stage.
- Focus on the songs and transitions that feel least secure.
- Time the set to make sure it fits your slot with a small margin.
Check Your Gear
- Restring guitars and basses a few days before, so new strings settle.
- Check drum heads, pedals, cables and power supplies.
- Charge wireless systems, in-ear packs and any rechargeable batteries.
- Update and test laptops, interfaces and software you use live.
Prepare Merch
- Count your stock and reorder anything that is running low.
- Prepare clear merch signs and a way to take payments.
- Pack a float of change if you accept cash.
- Bring a mailing list sign-up sheet or QR code.
Final Promotion
- Post a reminder with time, venue and ticket link.
- Share a rehearsal clip or behind-the-scenes content.
- Message friends and fans personally.
Gig Checklist: What to Pack
This is the core of the checklist. Adjust it to your instrument and setup.
Instruments and Essentials
- Instruments, with cases or gig bags.
- Stands for guitars, keyboards or other instruments.
- Spare strings, sticks, reeds or other consumables.
- Picks, capos, slides and tuners.
- Drum key, keyboard sustain pedal and any small accessories.
Cables and Power
- Instrument cables, plus at least one spare.
- Patch cables for pedalboards.
- Power supplies and adapters for pedals, keyboards and laptops.
- Extension cord and power strip.
- XLR cables if you bring your own microphones.
- Batteries in the right sizes.
Electronics and Tech
- Laptop, audio interface and their chargers.
- In-ear monitors and wireless packs.
- Backing track device, with a backup copy of the files.
- Phone and charger.
Paperwork and Small Items
- Printed setlists, one for each band member, plus a spare.
- Tape for setlists and cable management.
- Marker pens.
- Venue contact details and your confirmation messages.
Personal Items
- Water bottle.
- Snacks.
- Stage clothes.
- Earplugs.
- Any medication you need.
- A small towel.
Emergency Kit
- Basic tools: screwdriver, pliers, multi-tool.
- Gaffer tape.
- Spare fuses for amps if applicable.
- Pain relief and plasters.
- A small torch or headlamp for dark stages.
Gig Checklist: Show Day
Before You Leave
- Check the weather and traffic, and leave with plenty of time.
- Load gear using your packing list, ticking off each item.
- Confirm arrival time with bandmates.
At the Venue
- Introduce yourself to the venue contact and sound engineer.
- Confirm set times and changeover times.
- Set up efficiently and keep your area tidy.
- Soundcheck with the loudest and quietest parts of your set.
- Agree on monitor mixes and any cues with the engineer.
- Set up your merch table and payment method.
Before You Play
- Warm up your voice and hands.
- Tune your instruments.
- Tape down setlists and check cables.
- Take a few minutes to breathe and focus. If nerves are a challenge, our guide to music performance anxiety has practical strategies.
During the Set
- Start on time.
- Keep an eye on the clock and stick to your set length.
- Mention your name, merch and where people can follow you.
- Thank the venue, the sound engineer, other acts and the audience.
After the Set
- Clear the stage quickly for the next act.
- Pack gear carefully, checking it against your list.
- Spend time at the merch table and talk to people.
- Collect payment if applicable and thank the venue contact.
- Do a final sweep of the stage and backstage area for forgotten items.
Gig Checklist: After the Show
The gig is not over when you leave the venue. The follow-up turns one show into future opportunities.
- Thank the venue or promoter by message and ask about future dates.
- Post photos and videos from the show and thank everyone who came.
- Add new mailing list sign-ups to your list.
- Note how many people came, what sold at merch and anything to improve.
- Restock any consumables you used so you are ready for the next gig.
- Back up any recordings or footage from the night.
Adapting the Checklist to Different Types of Shows
The core checklist works for most gigs, but each type of show has a few extra items worth adding.
Acoustic and Café Shows
Smaller rooms often have a simple PA or none at all. Ask in advance whether you need to bring a small speaker, a microphone and stands. Bring a capo, a tuner and a music stand if you use lyric sheets. Plan a quieter set and think about how you will hold attention in a room where people may be talking.
Full Band Club Shows
Changeovers between acts are often short, so practise setting up and packing down quickly. Label your cables and cases, agree where each player stands and keep your pedalboard ready to plug in. Share a single running order with the band and the sound engineer.
DJ and Electronic Sets
Prepare two copies of your music on separate devices or drives, and check that your files, software and controllers are all up to date. Confirm what mixer or equipment the venue provides and bring the right adapters. Test your headphone connection and any audio interface before the night.
Festival Slots
Festivals usually run on strict schedules. Read every message from the organisers carefully, note your accreditation and parking details, and plan for weather if the stage is outdoors. Bring extra water, sun protection or rain covers, and expect very fast changeovers with little or no soundcheck.
Private Events
Weddings, parties and corporate events often come with specific requests, such as particular songs, quiet background sets or announcements. Confirm the schedule, dress code, song requests and any rules about volume or breaks well in advance, and keep a printed copy of the plan with you on the day.
A Quick Pre-Departure Check
Before you close the car door, run through five questions: Do I have my instrument? Do I have something to plug it in with? Do I have power? Do I have my setlist? Do I know exactly where and when I need to be? If the answer to all five is yes, most other problems can be solved at the venue.
Band Gig Checklist: Dividing Responsibilities
In a band, a shared checklist works best when each item has an owner.
- Logistics lead: Confirms details with the venue and shares the schedule.
- Gear lead: Checks shared equipment and the emergency kit.
- Merch lead: Handles stock, signage and payments.
- Promotion lead: Posts announcements and reminders and coordinates with other acts.
Rotate roles if that keeps things fair, but always make it clear who owns what for each show.
Turn Your Gig Checklist Into a Habit
The best checklist is one you reuse and improve after every show. After each gig, add anything you wished you had packed and remove anything you never use. Over time, your checklist becomes a reliable record of how you work.
Use Templates
Keep a master version of your checklist and copy it for each show. Digital checklists are easy to duplicate and share with bandmates. Paper works too, especially for the packing list. Some musicians laminate a printed packing list and keep it inside their gig bag with a dry-erase marker, so it is always there when they load up, even if their phone battery is flat.
Separate One-Off and Recurring Tasks
Some tasks happen once per show, like confirming load-in. Others happen regularly, like checking strings or restocking merch. Treat recurring tasks as part of your routine so they never sneak up on you.
Keep a Gig Log
Alongside your checklist, keep a short log for each show: venue, date, set length, attendance, merch sold, what went well and what to fix. Reading back through a few months of entries shows which rooms suit you, which songs work best live and which preparation steps make the biggest difference. It also gives you real numbers to mention the next time you pitch a venue.
How MuziTask Helps Musicians Stay Gig-Ready
MuziTask is a task manager designed for musicians. You can add recurring tasks such as “check gear,” “restock merch,” “rehearse set” or “post show reminder” with daily, weekly or monthly frequencies, then tick them off in the app or from your Home Screen widget. Completed tasks earn XP toward your next level, and the Week Ahead notification gives you a summary at the start of each week, which is a useful moment to look at upcoming shows. Your detailed packing list can live wherever you prefer, while MuziTask keeps the recurring preparation moving.
Frequently Asked Questions
What should a musician bring to a gig?
Bring your instruments, stands, spare strings or consumables, cables and spares, power supplies, a power strip, any tech you use live, printed setlists, tape, water, stage clothes, earplugs and a small emergency kit with basic tools and gaffer tape.
What should I confirm with a venue before a gig?
Confirm the address and loading access, load-in, soundcheck, doors and set times, set length, running order, contact person, what equipment the venue provides, payment arrangements, guest list and merch rules.
How early should I arrive for a gig?
Arrive at or slightly before the agreed load-in time. If no time is given, ask the venue. Allow extra time for traffic and parking so you are not rushing setup and soundcheck.
How do I make a band gig checklist?
Start with a master list covering confirmation details, gear, merch, promotion, show-day steps and follow-up. Assign each item to a band member and share the list so everyone knows their responsibilities.
What should I do after a gig?
Thank the venue and ask about future dates, share photos and videos, follow up with new fans, note attendance and merch sales, restock consumables and update your checklist with anything you learned.
Final Thoughts
A good gig checklist protects your performance from the small mistakes that cause big stress. Confirm details early, rehearse properly, pack from a list, run show day calmly and follow up afterwards. Reuse and refine your checklist after every gig, and you will spend less energy remembering things and more energy playing the show your audience came to see.